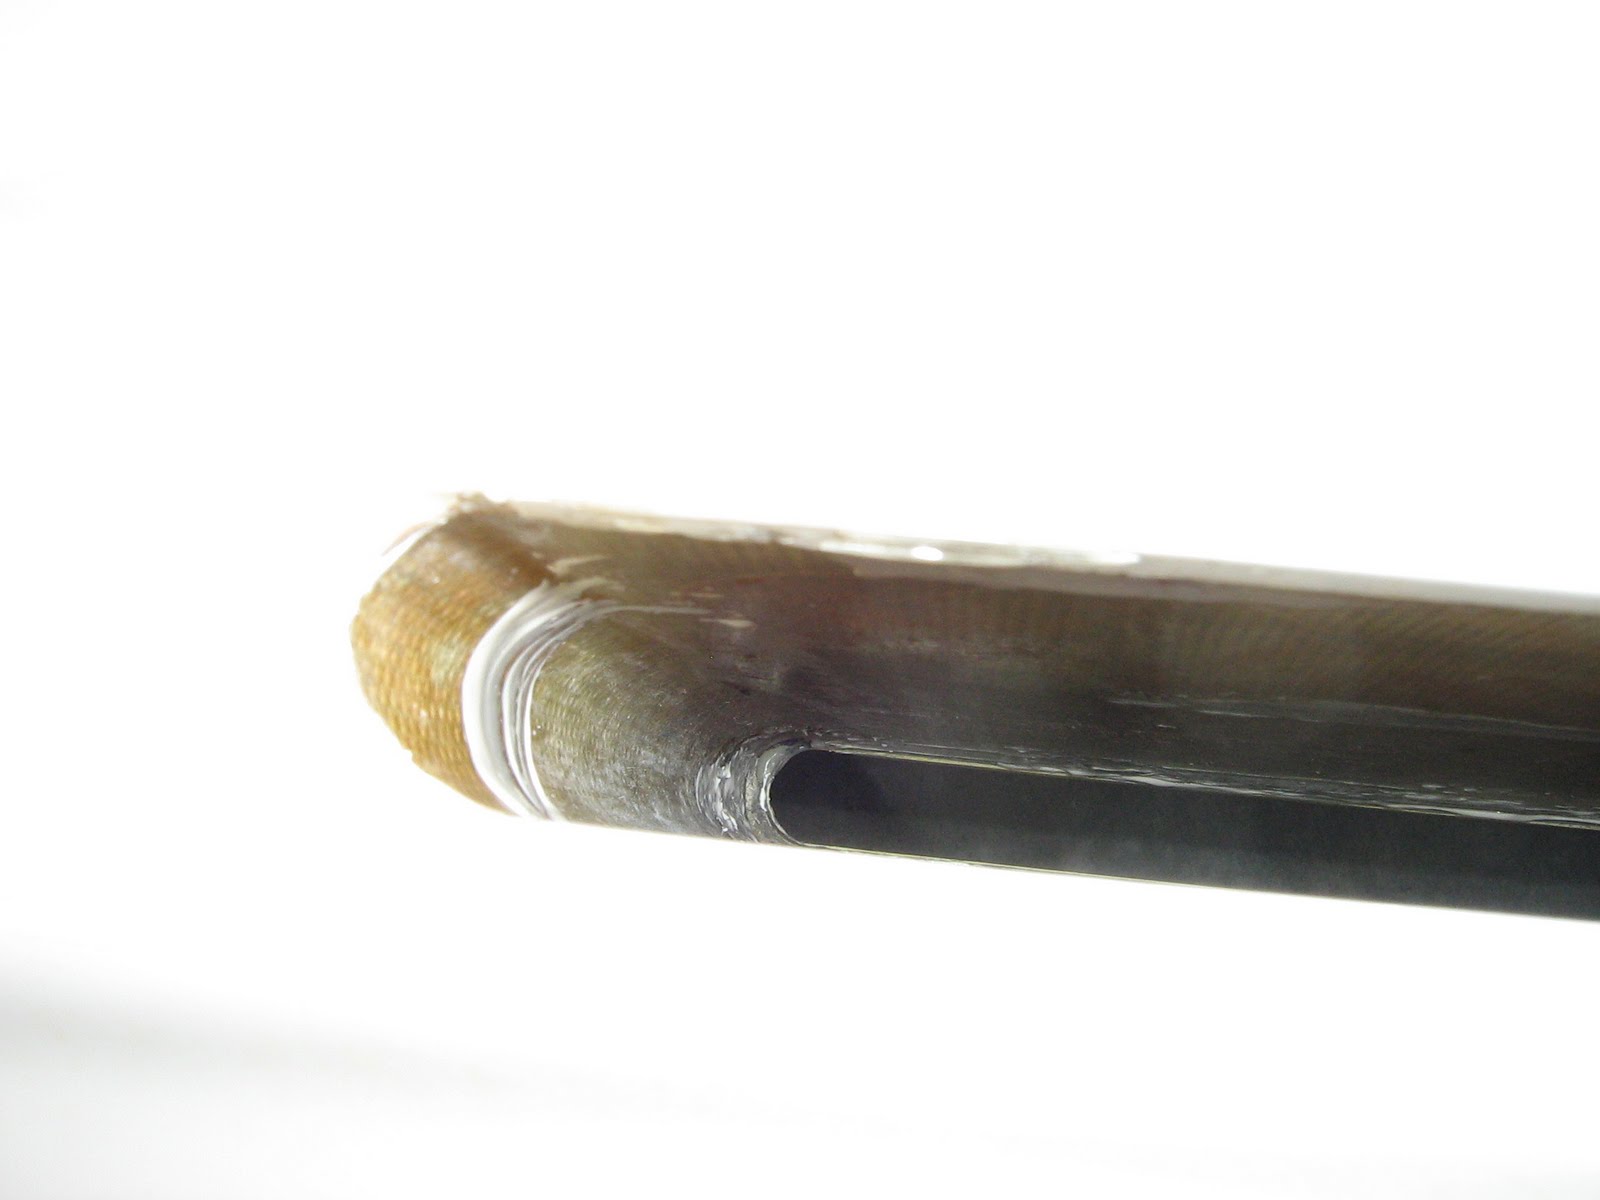
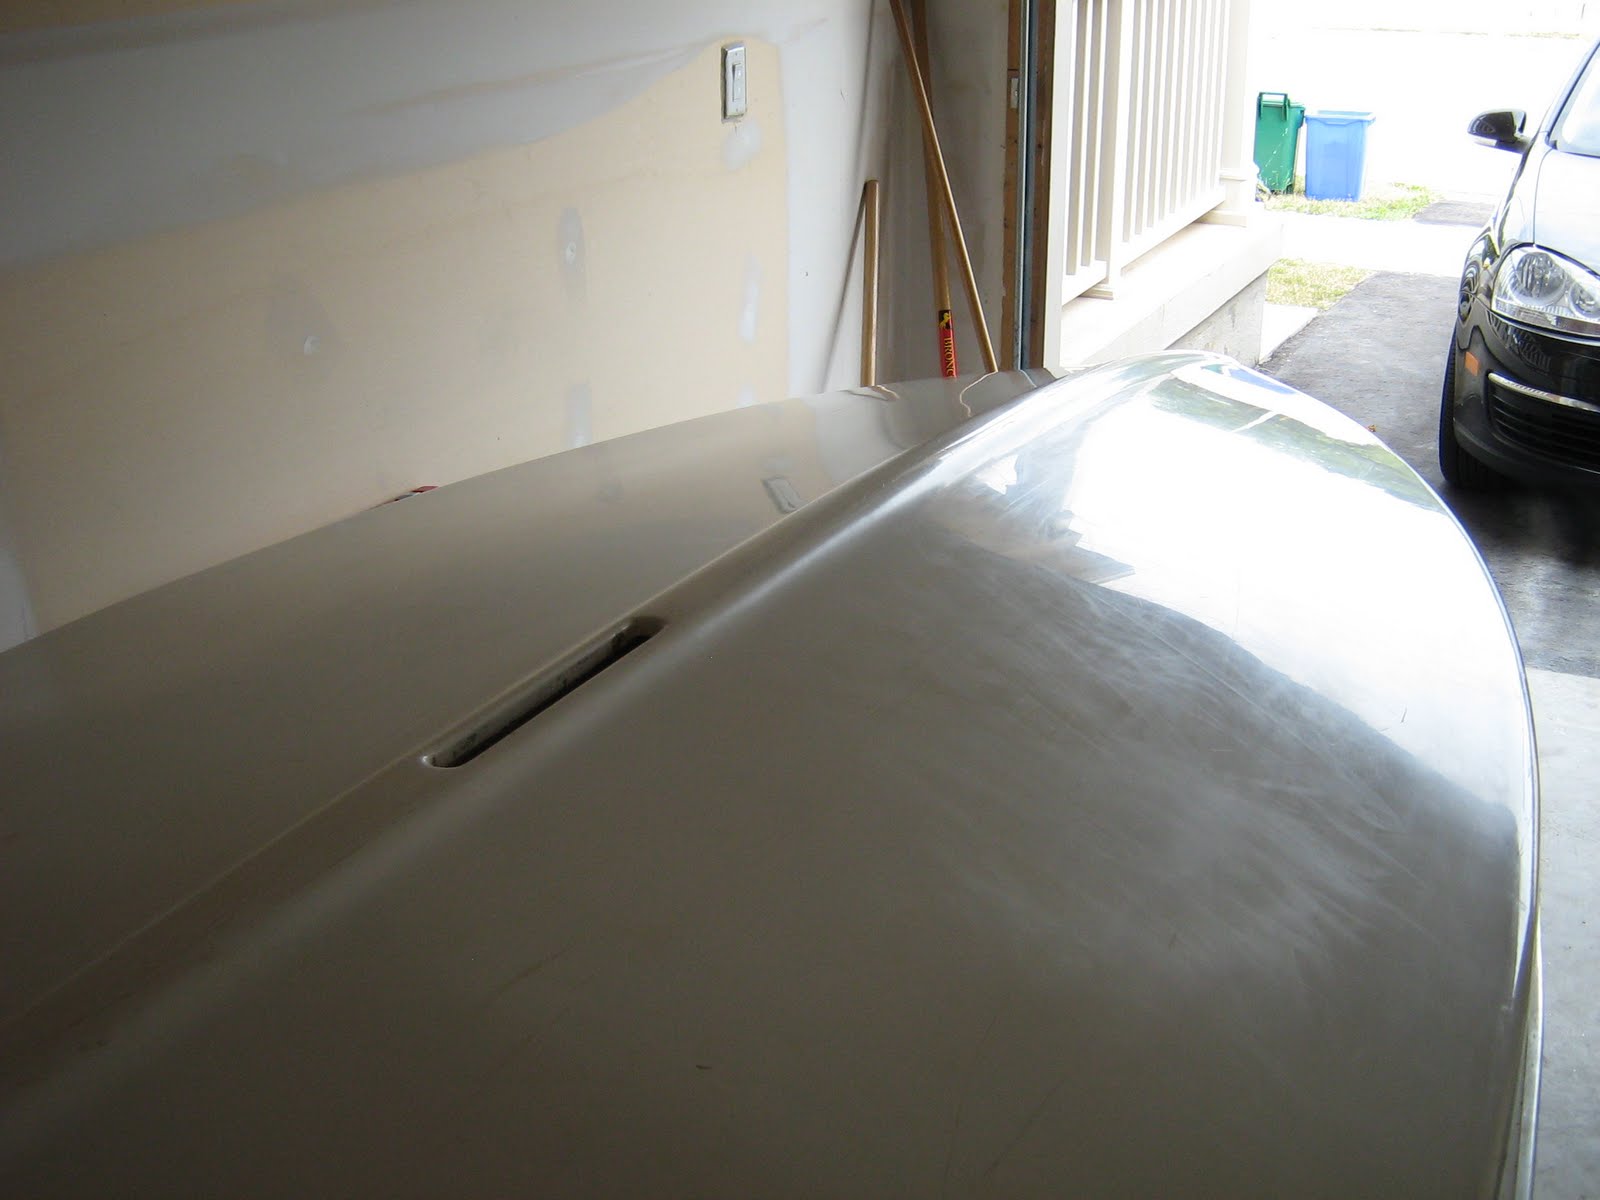
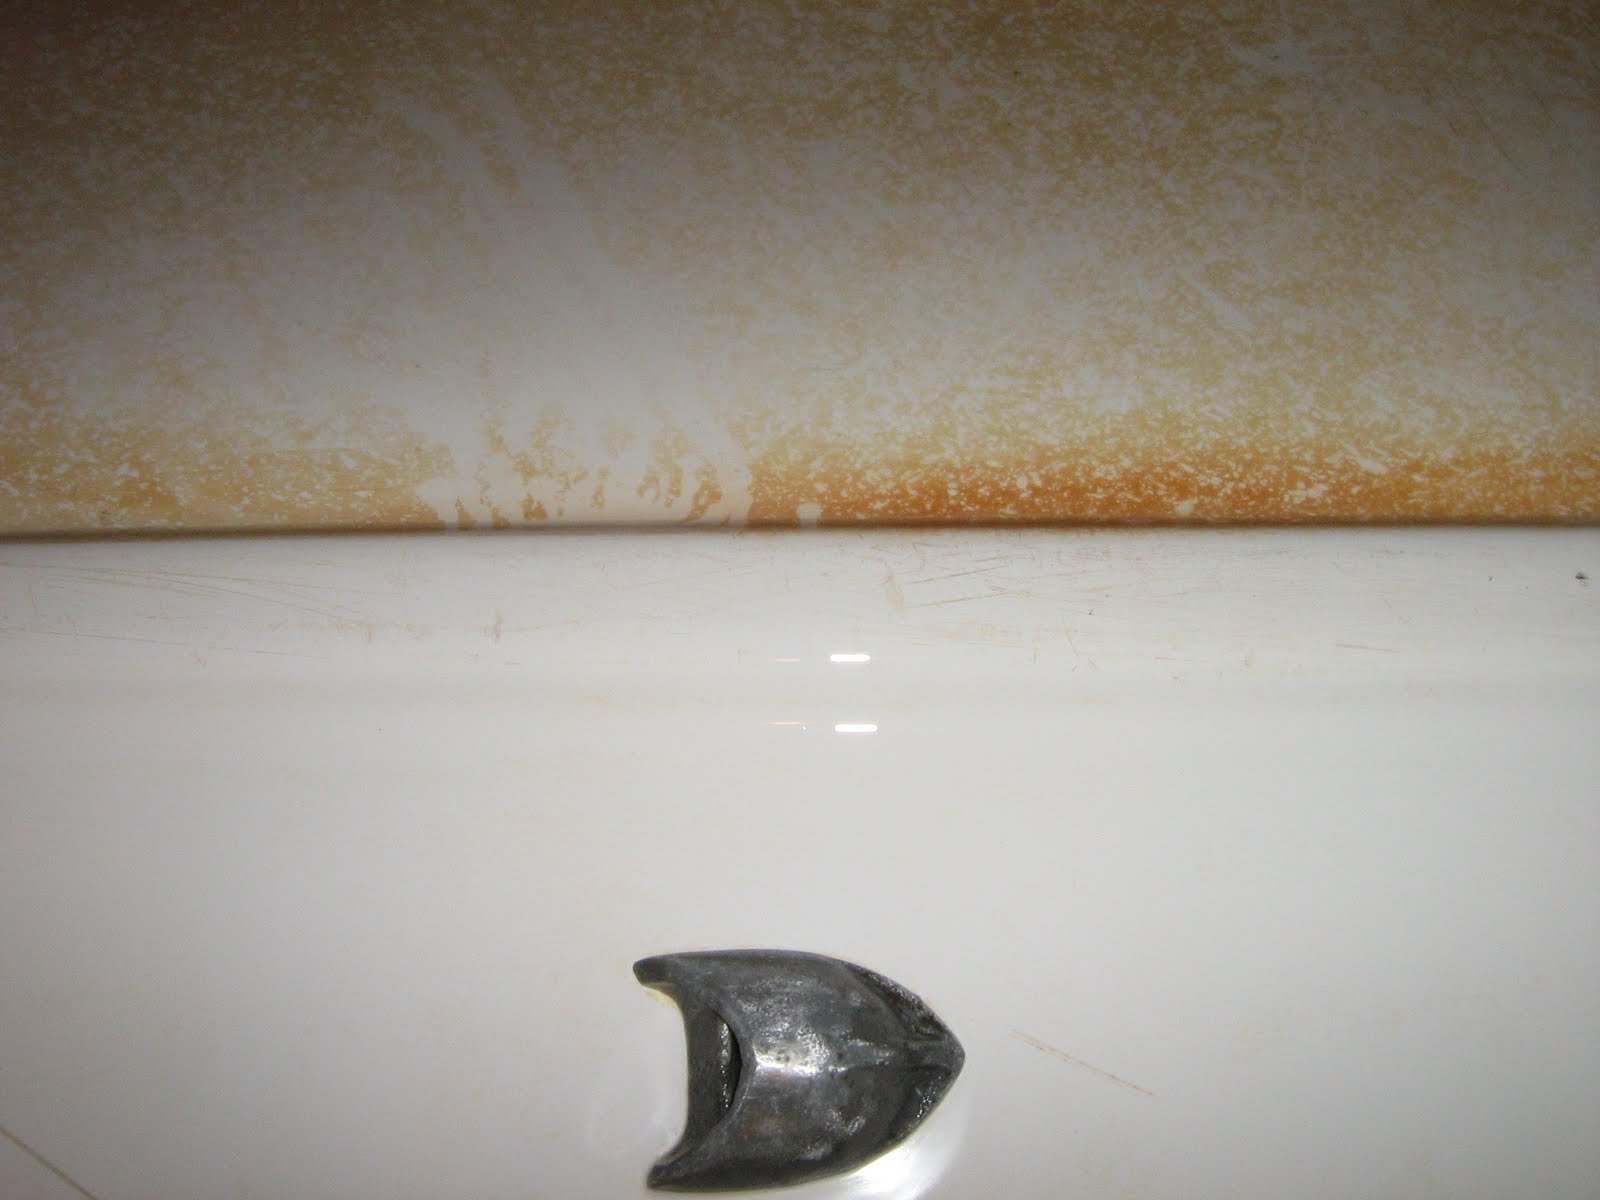
OK so maybe I am a little OCD about my boat, but after spending countless hours restoring her, I couldn't stand looking at the eyesore that was my Sunfish bailer. It was heavily corroded and blackish in color. It just looked like it didn't fit with this newly compounded and waxed shiny Sunfish. In addition someone in my family gave me a rotary tool, so this was another excuse to try it out. I used a stainless steel wire brush wheel attachment, and polished the bailer on the hull, and inside the cockpit. Do not use a carbon steel wire brush attachment, or the fine metal left on the bailer will rust. I am satisfied with the results, it came out pretty shiny! I am lucky that all of the parts of my bailer are present and seem to be in better than average shape. The original bailer is made of cast aluminum, so I don't really see the need to convert it over to the plastic bailer. The only thing missing was the bailer ball, which I replaced. Take a look!
When I bought the boat, the ad said that it didn't have any leaks. When I peered into the dagger-board trunk, I could see small chips of gel-coat missing. There were only a few, and I thought better safe than sorry. Or better to fix them now, than to have a leak develop later. I got a small thing of marine epoxy at Home Depot for $5 and went to work. I still need to wet sand the areas, but over all the areas are pretty smooth, and shouldn't damage the dagger-board.
Friday, 22 July 2011
Monday, 11 July 2011
Sunfish Hull Sanded & Waxed - New Mast Cap & Mast Cleat
After about a week of wet-sanding (1 hour here, 1 hour there), I was finally finished. Although it took a long time the results were great! I finished by cleaning off the hull, and then using 3M cleaner and wax to protect. Below are before and after pictures.
Another problem I encountered was that my old style mast cap had an eye-bolt and block, in order to hoist the main-sheet. The bolt seemed a little loose and after attempting to tighten the lock-nut, the bolt broke in half in my hands. I tried to find a replacement at the local hardware store but the loads listed on the bolts at the hardware store wouldn't be able to handle the rigors of day to day sailing. So I decided to install the new version of the mast-cap with the fair-lead molded into the cap. I used 3M 4200 sealant, and a rivet gun. I also decided to install a cleat on the mast for the main-sheet. See photos.
Tuesday, 5 July 2011
Luke - You don't understand the power of the wetsand!
I got bored and decided to fiddle with the boat again. I am unsure what the previous owner spilled on the hull but it sure stained pretty good. I tried some suggestions from people, and was unable to remove it with bleach, or CLR. I had some fine grit paper, so I decided to wet-sand. With a large amount of elbow grease and 600 paper, the stains came off. Below is a photo. I am half way done.
Tuesday, 28 June 2011
Sunfish Dagger-Board & Rudder Refinish Job
This weekend I refinished my Sunfish Dagger-Board and Rudder. They had a pretty decent existing finish, and to tell you the truth, I was too lazy to strip them all the way down to bare wood. I didn’t want to end up putting 8-10 coats of varnish on the boards. I sanded them with my palm sander. First with 120, then with 80 (ran out of 120). Then I applied some wood putty, let dry, and then sanded again with 220. Then I wiped them down with paint thinner and a tack cloth. Here are pictures of the boards with 2 coats of varnish. I plan to put a 3rd coat on tonight.
Monday, 20 June 2011
Sunfish Gel Coat Patch - Part 3
Well here is my boat all cleaned up and ready for the water! I put another coat of gel coat over the repair area with foam brushes for the 3rd time. The finish came out smooth and shinny. I then wet-sanded with some fine grit paper, and decided enough was enough. The hull is water tight and "good enough". I compounded and waxed (lots of dirt came up off the gel coat), and installed my ratchet block. I also tied a rope bridle using some Marlow line and a few bowlines. Perhaps in the winter I will install a new bridle. I also reinstalled the painted coaming, and re-caulked it last night.
Friday, 17 June 2011
Sunfish Gel Coat Patch - Part 2
Well I sanded and sanded, and applied my white gel coat mix, with yellow tint. The second patch looks better, but let me give you one piece of advice. Gel coat changes color when it cures. The color I had matched when applied was perfect (or close), but to my dismay, when it hardened it brightened up. Anyway, it is good enough for right now. After the boat has been hauled in for the winter, I might give it another try. Although cosmetically it is not the best, it is completely water tight, and has strengthened the area considerably. This weekend, I am going to compound and wax, and move on to other items.
Monday, 6 June 2011
The Results!
Well I sanded down my fix, and wasn't too happy with the results. The neutral gel coat that I used, seem to have a transparent quality that showed the previous damage below. Structurally it is fine. I will sand it down to a certain point, and re-gel coat the area with a white colored gel coat paste with the appropriate yellow tint. Also I wasn't too pleased with my attempted color match. If at first you don't succeed, try try again I guess.
Subscribe to:
Posts (Atom)